Creating an Animation for Adding Items into a Cart
Right-click the second frame and choose Insert New to add a third frame.
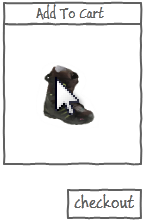
Shift-click the user cursor and the yellow boot and, using the arrow keys on your keyboard, move them into the middle of the Add to Cart section. Don’t worry about the path of the movement. All SketchFlow needs is the starting and ending positions, it automatically animates between them.
To simulate the appearance of the price disappearing as the boot leaves the area, you can reduce the opacity. Click the price to select it and then change the opacity value to 0% and press return.
Right-click frame number three and choose Insert New to add a new frame. You’ll now turn off the boot you just dragged to the cart and immediately turn on the price and thumbnail.
Click the boot, making sure you are not selecting the cursor. In the Appearance section, change the value of the opacity to 0% and press return.
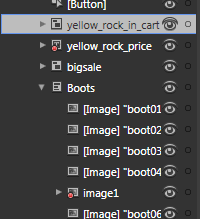
In the Objects and Timeline panel locate the yellow_rock_in_cart object and select it. You will now turn the opacity of this back to 100%.
Select yellow_rock_in_cart
in the Objects and Timeline panel.
In the Appearance section, change the value of the opacity to 100% and press return. Now you will animate the Big Sale window to create the effect that it’s been triggered by the addition of the boot to the cart.
If necessary, scroll to the left if and click and drag to draw a selection marquee over the Big Sale window to select it. Holding down the Shift key, press the right arrow, repeatedly, to move it onto the middle of the screen.
Choose File > Save, or Ctrl+S to save your document. Press F5 to build your application. Once the SketchFlow Player appears, navigate to the boots page.
To play the animation, click the dark green line labeled SketchFlowAnimation.