Modifying Your Layout in Order to Fit Your Silverlight Content
HTML and CSS layouts are based on a box model and its important to keep this in mind as you plan to add Silverlight content. Silverlight content is imported into your pages with a fixed width and height and if the size of the Silverlight file is larger than the container it’s being added to it may break the layout, become clipped or in some way create visual problems. Although Silverlight content can be scaled smaller or larger to fit a section of your webpage, this may create other problems as well such as distorting the Silverlight application or reducing type to unreadable levels.
Therefore, when possible, you should set the width and height of the containing area in your web page to match the width and height of the Silverlight content. You will do this now by modifying the topnav div container for your page.
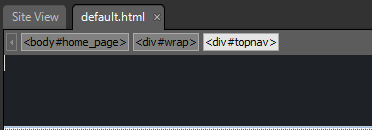
In the Site View tab, double-click default.html to open this page in Expression Web. If necessary, click on the Design view to see your page in this view.
Click once inside the black navigation screen at the very top. Notice that the tag labeled <div#topnav> is highlighted. This represents the name of this element: a div container with an ID of TopNav.
If necessary, click the panel labeled Tag Properties, it may already be open. Notice that in the Attributes section, the id of this container is also labeled topnav.
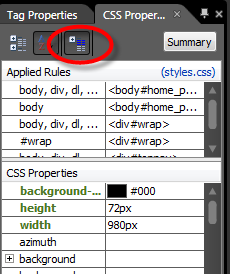
Click the CSS Properties tab next to Tag Properties. Because the topnav element is selected, you can now see the CSS properties for this container.
Although there are dozens of possible CSS properties, many of them will be empty, to make it easier to find the values for this particular container, you will change the way Expression Web displays them.
In the CSS Properties panel, click the third icon to show just the Set properties on top. This will sort only those properties that have a value to the top, in this case: background-color, height and width.
Click the value for height and type 418px. Press return and you’ll see the height of this topnav section expand. The width can stay the same. Your Silverlight content has dimensions of 980 pixels wide by 418 pixels high. So this area now matches in size.
Choose Insert > Media > Silverlight from the application menu and a window appears asking you to select a Silverlight XAP file. Navigate to the top level of the guide folder if necessary and select the Lucerne_navheader.xap file. Then click Open.
Note: The XAP file has been exported from expression Blend and placed in this folder. You could have navigated anywhere on your system to locate this file.
The Silverlight content has been added to your page within this topnav section. The file will only be displayed as a blank placeholder and you will now need to modify the width and height.
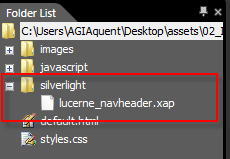
In the folder list panel, locate the silverlight folder and click the plus to the left to expand this folder. You will see the Lucerne_navheader.xap file. Expression Web generates this silverlight folder when you first import Silverlight content. Any future Silverlight files you import will also be placed in this folder.
Immediately above this folder is a javascript folder. This was also generated by Expression Web and a javascript file that prompts users to download the Silverlight plugin, if they do not have it was added.
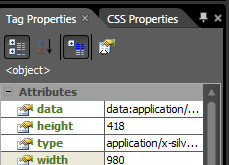
Click on the Silverlight placeholder to select it and then click on the tag Properties panel. You will see attributes for data, height, type and width. The height and width properties are set to default values of 480 and 640. This should be changed to match the size of the silverlight content.
Click the value for height and type 418 press Enter, then click the value for width and type 980. Press Enter again to commit the change. The Silverlight placeholder will now have expanded to fit the topnav section.