Editing the UserControl
In this next section, you will edit the UserControl.
You can edit a control in many ways; use the keyboard shortcut Ctrl+E, use the contextual menu by right+clicking the Honeycomb UserControl in the Objects and Timeline panel, or by choosing Object > Edit Control. Whichever method you choose, the result is that Honeycomb.xaml appears, and is ready for editing.
When you edit a UserControl, you edit much like you would any object in MainPage.xaml. In this example, you will change the border color, and then rebuild your project to see your change reflected in all instances of the Honeycomb UserControl.
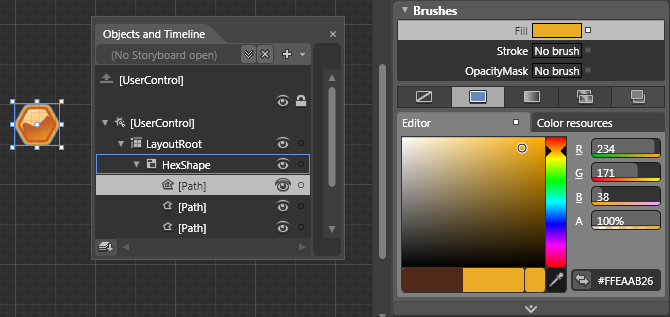
In the Objects and Timeline panel, click the arrow to the left of HexShape to reveal the path objects creating the HexShape. Click the Path located at the top of the list. This is, of course, the bottommost path on the artboard.
Click on the top Path.
Locate the Properties panel and then click the Fill box in the Brushes pane.
Select any color you wish from the Color editor, the border color of the HexShape Is changed.
Press Ctrl+S to save your change and click the MainPage.xaml tab to exit the UserControl.
Once back in MainPage.xaml, press Ctrl+Shift+B to rebuild the project and show you the changes that you made. Note that all three controls are now edited.